Column Restoration
& Repair
Innovative Solutions
Local and Family-Owned
In Business Since 1977
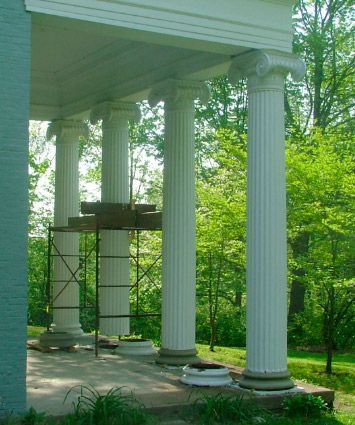
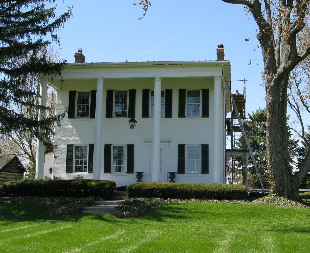
Restoration of Historical Columns and Their Bases
One area of expertise for Architectural Reclamation is restoring columns and their bases.
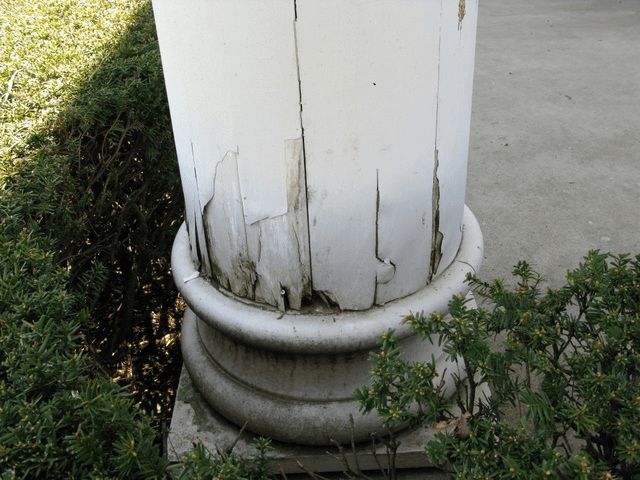
Like any piece of architecture exposed to the elements, columns are susceptible to rot, rust, and decay. Many columns, however, are inadvertently doomed by well-intended repairs or paint jobs. Most columns are hollow by design, with ventilation inlets at the capital and the plinth. Air is allowed to circulate inside and to prevent wet conditions from inviting corrosion.
But if those vents are caulked or painted over, the column will deteriorate and may even fail.
Our column repair process usually involves three phases. First, we stabilize any structures supported by or attached to the column. Then, we delicately take hold of the column and gradually lift it in place to remove the base. Lastly, we restore or replicate the base, make repairs to the column, and lower the column back down. The process is completed by patching any flaws and applying a fresh coat of paint.
Galvanized Steel Columns
Privately Owned
Cincinnati, OH
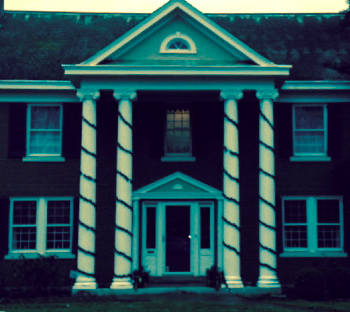
The homeowner requested that we investigate areas of rust on the columns of his 1931 Greek Revival house. The owner's research led us to the Union Metal Corporation, which produced the columns and is still in business today.
Using information from the manufacturer and from our own analysis, we determined that the inside of the columns needed proper ventilation and that condensation drippage needed to be diverted away from areas prone to rust.
Once those problem-causing issues were addressed, we treated the secondary symptoms of rust and corrosion, and the owner finished the final painting. The owner is happy with his restored columns and even highlighted them in his holiday decoration.
Photos courtesy of the owner
The steel column and cast-iron base were rusting due to poor ventilation and internal drainage

Rob and Andy install a diverter inside the column to direct condensation away from the base
Replacing a Column Capital
Privately Owned
Middletown, OH
The corner of this historic house's porch and the top of its column were damaged due to a leak. We replicated the rotten areas and re-inserted the new pieces.
The reconstructed column and porch corner were made to match the existing columns.
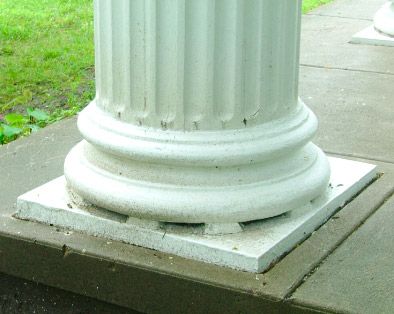
Wood Column Bases Replicated in Concrete
Privately Owned
Germantown, OH
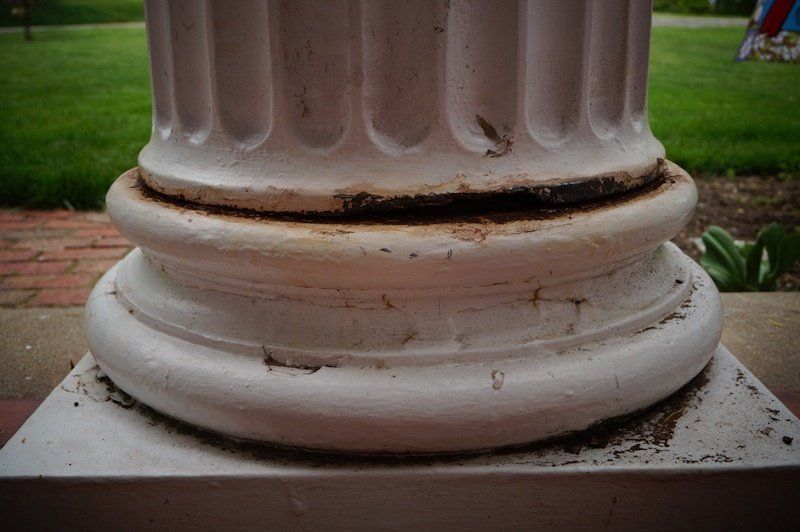
The column bases on this Greek Revival home were rotting. To address this problem, we fabricated custom concrete bases to stop the deterioration and to increase airflow to prevent future decay.
The porch capitals are made of reinforced plaster of Paris (with a wood thimble to carry the weight). Because they are fragile and weigh approximately 80 lbs apiece, we decided it was best to leave them in place.
Because the columns are made of thin, fluted, soft white pine strips, we connected the column to the scaffold boards at four points. (Overkill, perhaps, but why chance it?) To make the connection, we used deck screws with fender washers. It is a delicate process. In softwood, over-tightening will strip the threads; in hardwood, over-tightening will break the screw.
We lifted the column by using the four screw jacks on the scaffold and sliding out the decayed base. There were no nails attaching the column to the base.
Restoring airflow:
The top of porch columns often are open into the roof and the cast iron bases have a hole in the center and spaces on the bottom edge to allow airflow.
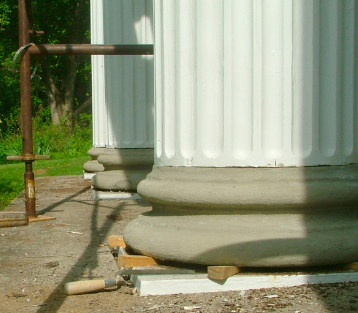
We suspect that this porch originally had a wood floor and an objectionably large step up into the house. This problem was solved with a concrete slab that was cast around the iron bases. This created a new problem by cutting off the airflow that helped keep the column dry.
We have restored that airflow by tuckpointing a space between the original iron base and the new concrete base.
Making a custom concrete base:
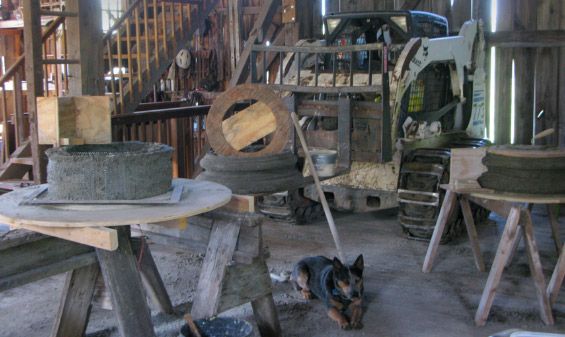
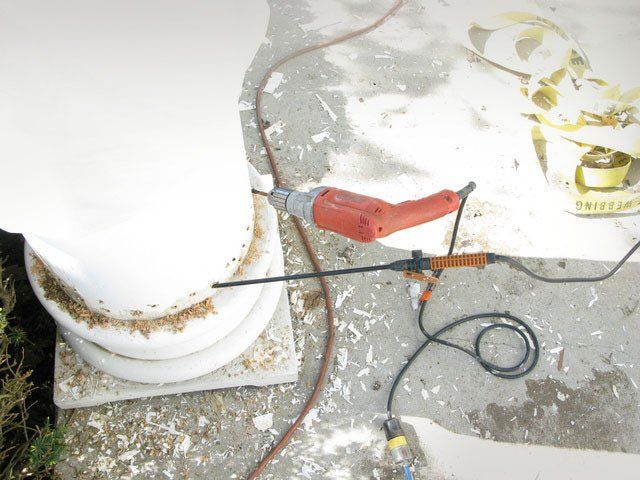
These bases were fabricated beginning with an armature, which was then coated with many layers of concrete and shaped with a nib.
The process (and the picture above) are explained below: The armature is two rings of galvanized diamond lath filled with concrete. Using an armature speeds up the process and makes the finished column base lighter. The armature must have a smaller diameter than the narrowest part of the column base.
The concrete mixture we used was three parts concrete sand to one part Portland cement, with just a pinch of concrete fiber (we believe it promotes bonding between layers as the column base is build up). For the armature and first layers of the base, Andy added some pea gravel. For the top layers, he substituted up to half mason's sand for the concrete sand.
The concrete was applied in thin layers using a trowel. Andy says that putting concrete on the armature is like icing a cake with lousy icing. After applying as much concrete icing as will adhere, we let the concrete set until the nib can be used to shape it by eroding the high points.
The “nib” (right and above dog) is a piece of tin, which was cut to the negative cross-section of the original column base. Andy borrowed this technique from running plaster moldings. This tin nib was reinforced with plywood and is run around the column base to create its final shape.
The "screeds” (above the dog and left) are plywood circles that dictate the finished diameter of the column base. They are held in place by a plywood spacer that must be removable after the concrete column base is finished. The nib erodes the concrete, shaping it as it is pushed in a circle following the contours of the screeds.
This process of applying a layer of concrete, letting it dry, and shaping it with the nib is repeated until the bases are complete and have reached their finished diameter.
Unlike cement, the concrete does not have a smooth finish, therefore we painted the column bases with Thoroseal.
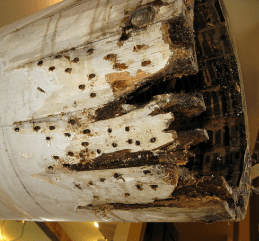
Fiberglass Reinforcement of Columns
Privately Owned
Preble County, OH
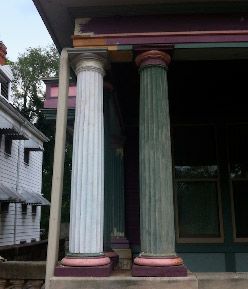
The Georgian-style porch was added to this federal farmhouse in the 1960s.
The end grain of the wood on the porch columns had been absorbing water, which was puddling on top of the column base.
The challenge on this project was to deal with the existing rot as well as to reinforce the columns, which were beginning to come unglued.
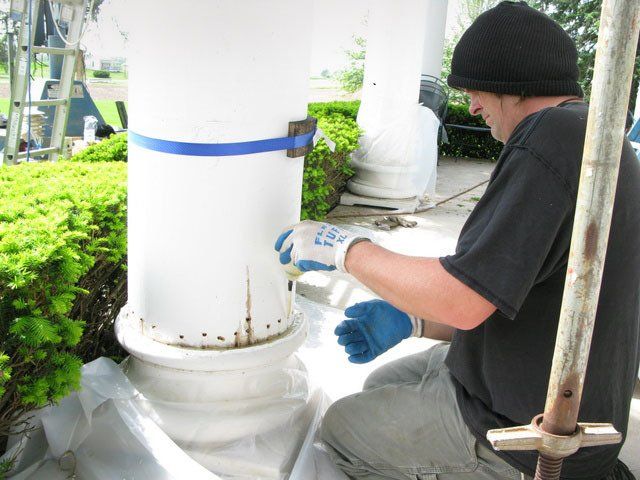
We exposed as much of the end grain as possible by drilling diagonal holes. Over several days, we filled the holes with fungicide (Bora-Care solution), using a modified garden sprayer. After letting the wood dry, we filled the holes several times with Abatron LiquidWood consolidant.
We patched the columns with wood epoxy, modified the bases to improve drainage, and sanded and painted the columns.
The columns are made out of long, thin wood “stays” (like a big skinny barrel). Unlike a barrel, the columns do not have any barrel hoops, and, after 50 years, the glue was failing.
First, we tightened the ratchet straps and pulled the joints together. We then created a “hoop” by routing out a groove and filling it with fiberglass filaments and epoxy resin topped with Abatron’s WoodEpox.
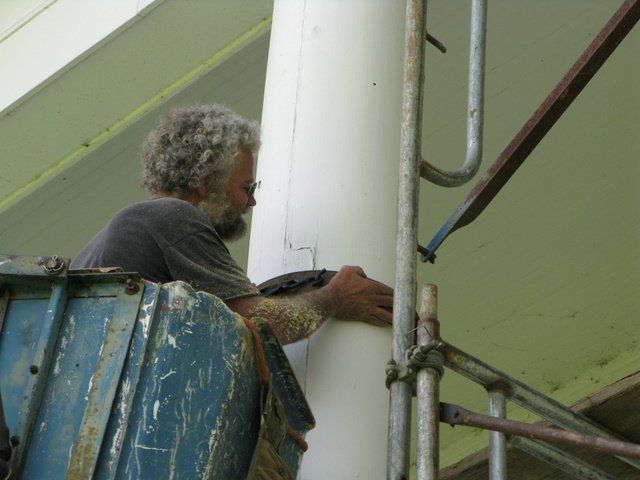
One of the columns was more extensively damaged and needed to come down.
First, we supported the porch with scaffolding (one of our favorite tricks) and removed the column. The column is not especially heavy; the real danger is the failing glue and the column turning into long sticks.
At the shop, the column received a more extensive version of the same treatment before being returned to the porch.
After five years, the fiberglass hoops have become more visible, but, otherwise, they are holding up very well.
A column base before work began
Drilling holes
Tod applies Bora-Care
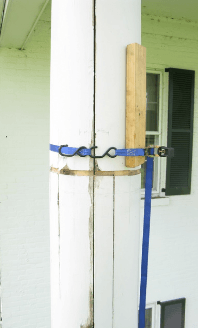
A split in the column with straps to pull it back together
A thick piece of rubber is used as a fence to guide the router
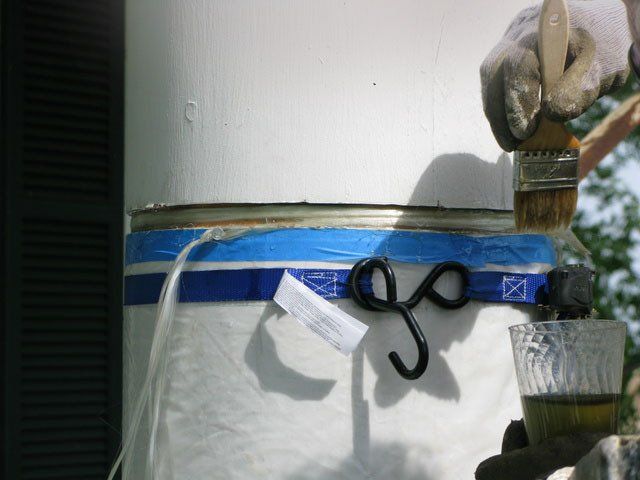
Fiberglass filaments and resin are applied
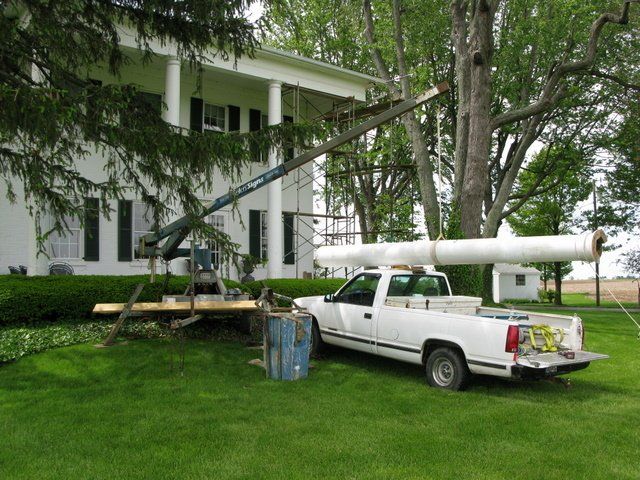
A column is lowered onto the truck
After the rotten wood was removed

Rotten wood was replaced with wood epoxy and is ready for a coat of paint
Learn More About
Architectural Reclamation


Share On: